
In March, when schools closed in our area, we didn’t know what to expect, how to help the kids grow their knowledge, where to best set up their spaces so they could focus and learn, etc. With time, we all got into the new routine. We learned how to use new apps and structure our days to fit virtual classes, activities, meetings, etc. It wasn’t easy, but we, somehow, adapted.

I don’t know how schools are going to be in your area, but here in Baltimore City, we will be starting the Fall with virtual learning. It is time to get ready for school in a new way. Instead of getting new backpacks and lunchboxes, we are getting desks and chairs. We will probably not be buying many new outfits, but we are getting new gadgets.
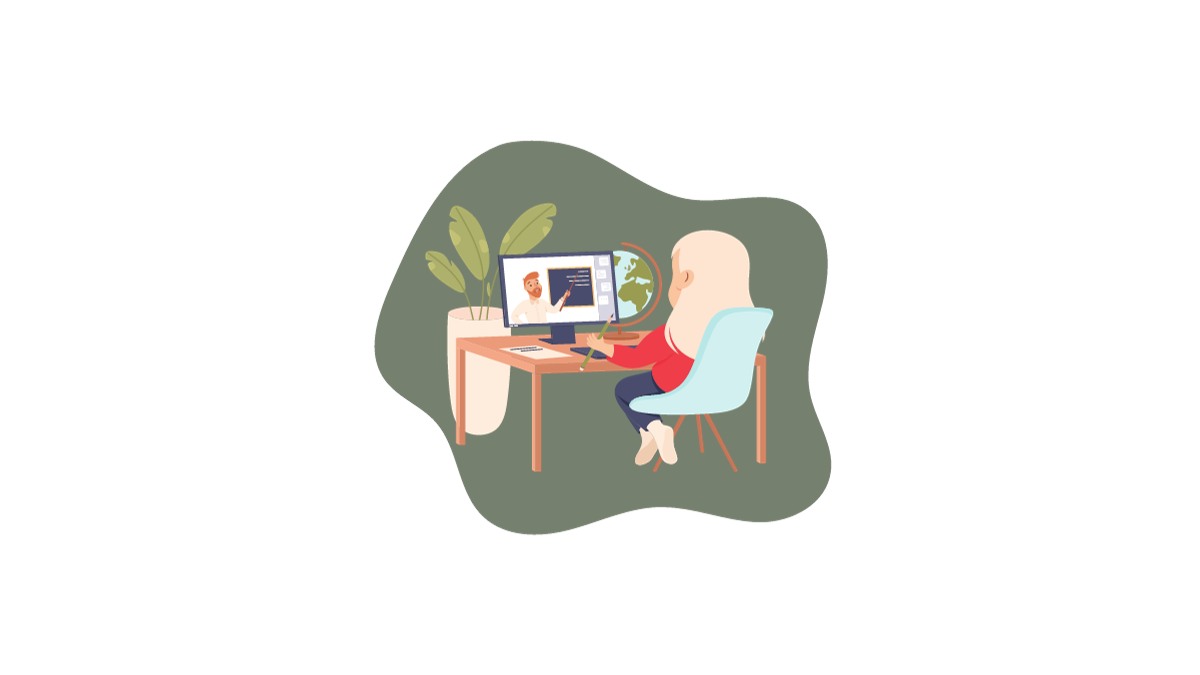
This year, with my two kids in school, I know that doing school work at the dining room table wouldn’t work for us. It is time for us to update their playroom to accommodate a comfortable, functional, and organized home-learning environment. Check below our transformation and what you will need to create a similar space for your kids.
Pick the location
For us, the best space for the kids’ virtual learning office was the basement, where they already have their art supplies, books, craft materials, etc. We just moved some furniture around, added a DIY desktop, got some new chairs, and done.
If updating a room is not in your budget, or you don’t have space for it, consider using a corner in the living room or dining room and setting up your kid’s virtual learning office. It is essential that they know where to go when the time comes to log in.
If you pick a high traffic area, I encourage you to push a small table into a corner, facing the wall, so the kids don’t get distracted easily.
Get life and space organized
Before school starts, it is important to help the kids create a routine and stick with it. If they are little, you can ask for their input on how they would like their day to go. Asking their opinion will make them feel involved, and chances that they will stick to it is higher. Create a routine and make it visible for them.
People, in general, can focus better in an organized environment. Take the time this month to set up their space with them. Where should their pencils go? Where is the table/computer home? Should they hang their headphones at a specific place?
Set the rules, but be flexible
Let’s be realistic! Chances that your kids will sit down for three straight hours, or more, at a desk to complete their virtual learning each day, is minimal. Create different areas where they can get comfortable. We use our “guest bed” to lay down to watch a video or read a book. However, it is still vital to set up rules, just as they have in school. Think about bathroom breaks, a 10-minute break in between assignments, etc.
Create a School Caddy
The virtual learning caddy will help your kids to keep all their learning materials in one place. If they need to concentrate and want to enjoy some quiet time in their rooms, this is the perfect way to do so. You can create one using a caddy, notebooks, tablet, headphones, pencil case, etc.
How are you getting ready for the new school year? Remind yourself that this is all new to you and your kids. We wish all parents good luck. We got this!


NEED MORE IDEAS?
Don’t forget to count on us if you need a private consultation. We can help you figure out what are the best steps to accomplish your home organizing goals. We also create a personalized shopping guide to organize that odd space or your dream pantry. Send us an email or check out our Virtual Organizing Services and Hands-on Services in Baltimore!
Learn more about our Digital Book, Organize Yourself Healthy
Instagram / Facebook / Amazon Storefront / Pinterest / Linkedin
Pin it for later


Leave a Reply