

Our kids inevitably grow, and their rooms should grow and evolve with them. Updating, styling, and organizing their rooms shouldn’t be a daunting task. With a clear vision of the space, a plan in hand, and motivation, you can do it yourself. That is exactly what I am doing to update my little girl’s bedroom, and I will be sharing the six steps I use for a styled and organized bedroom.

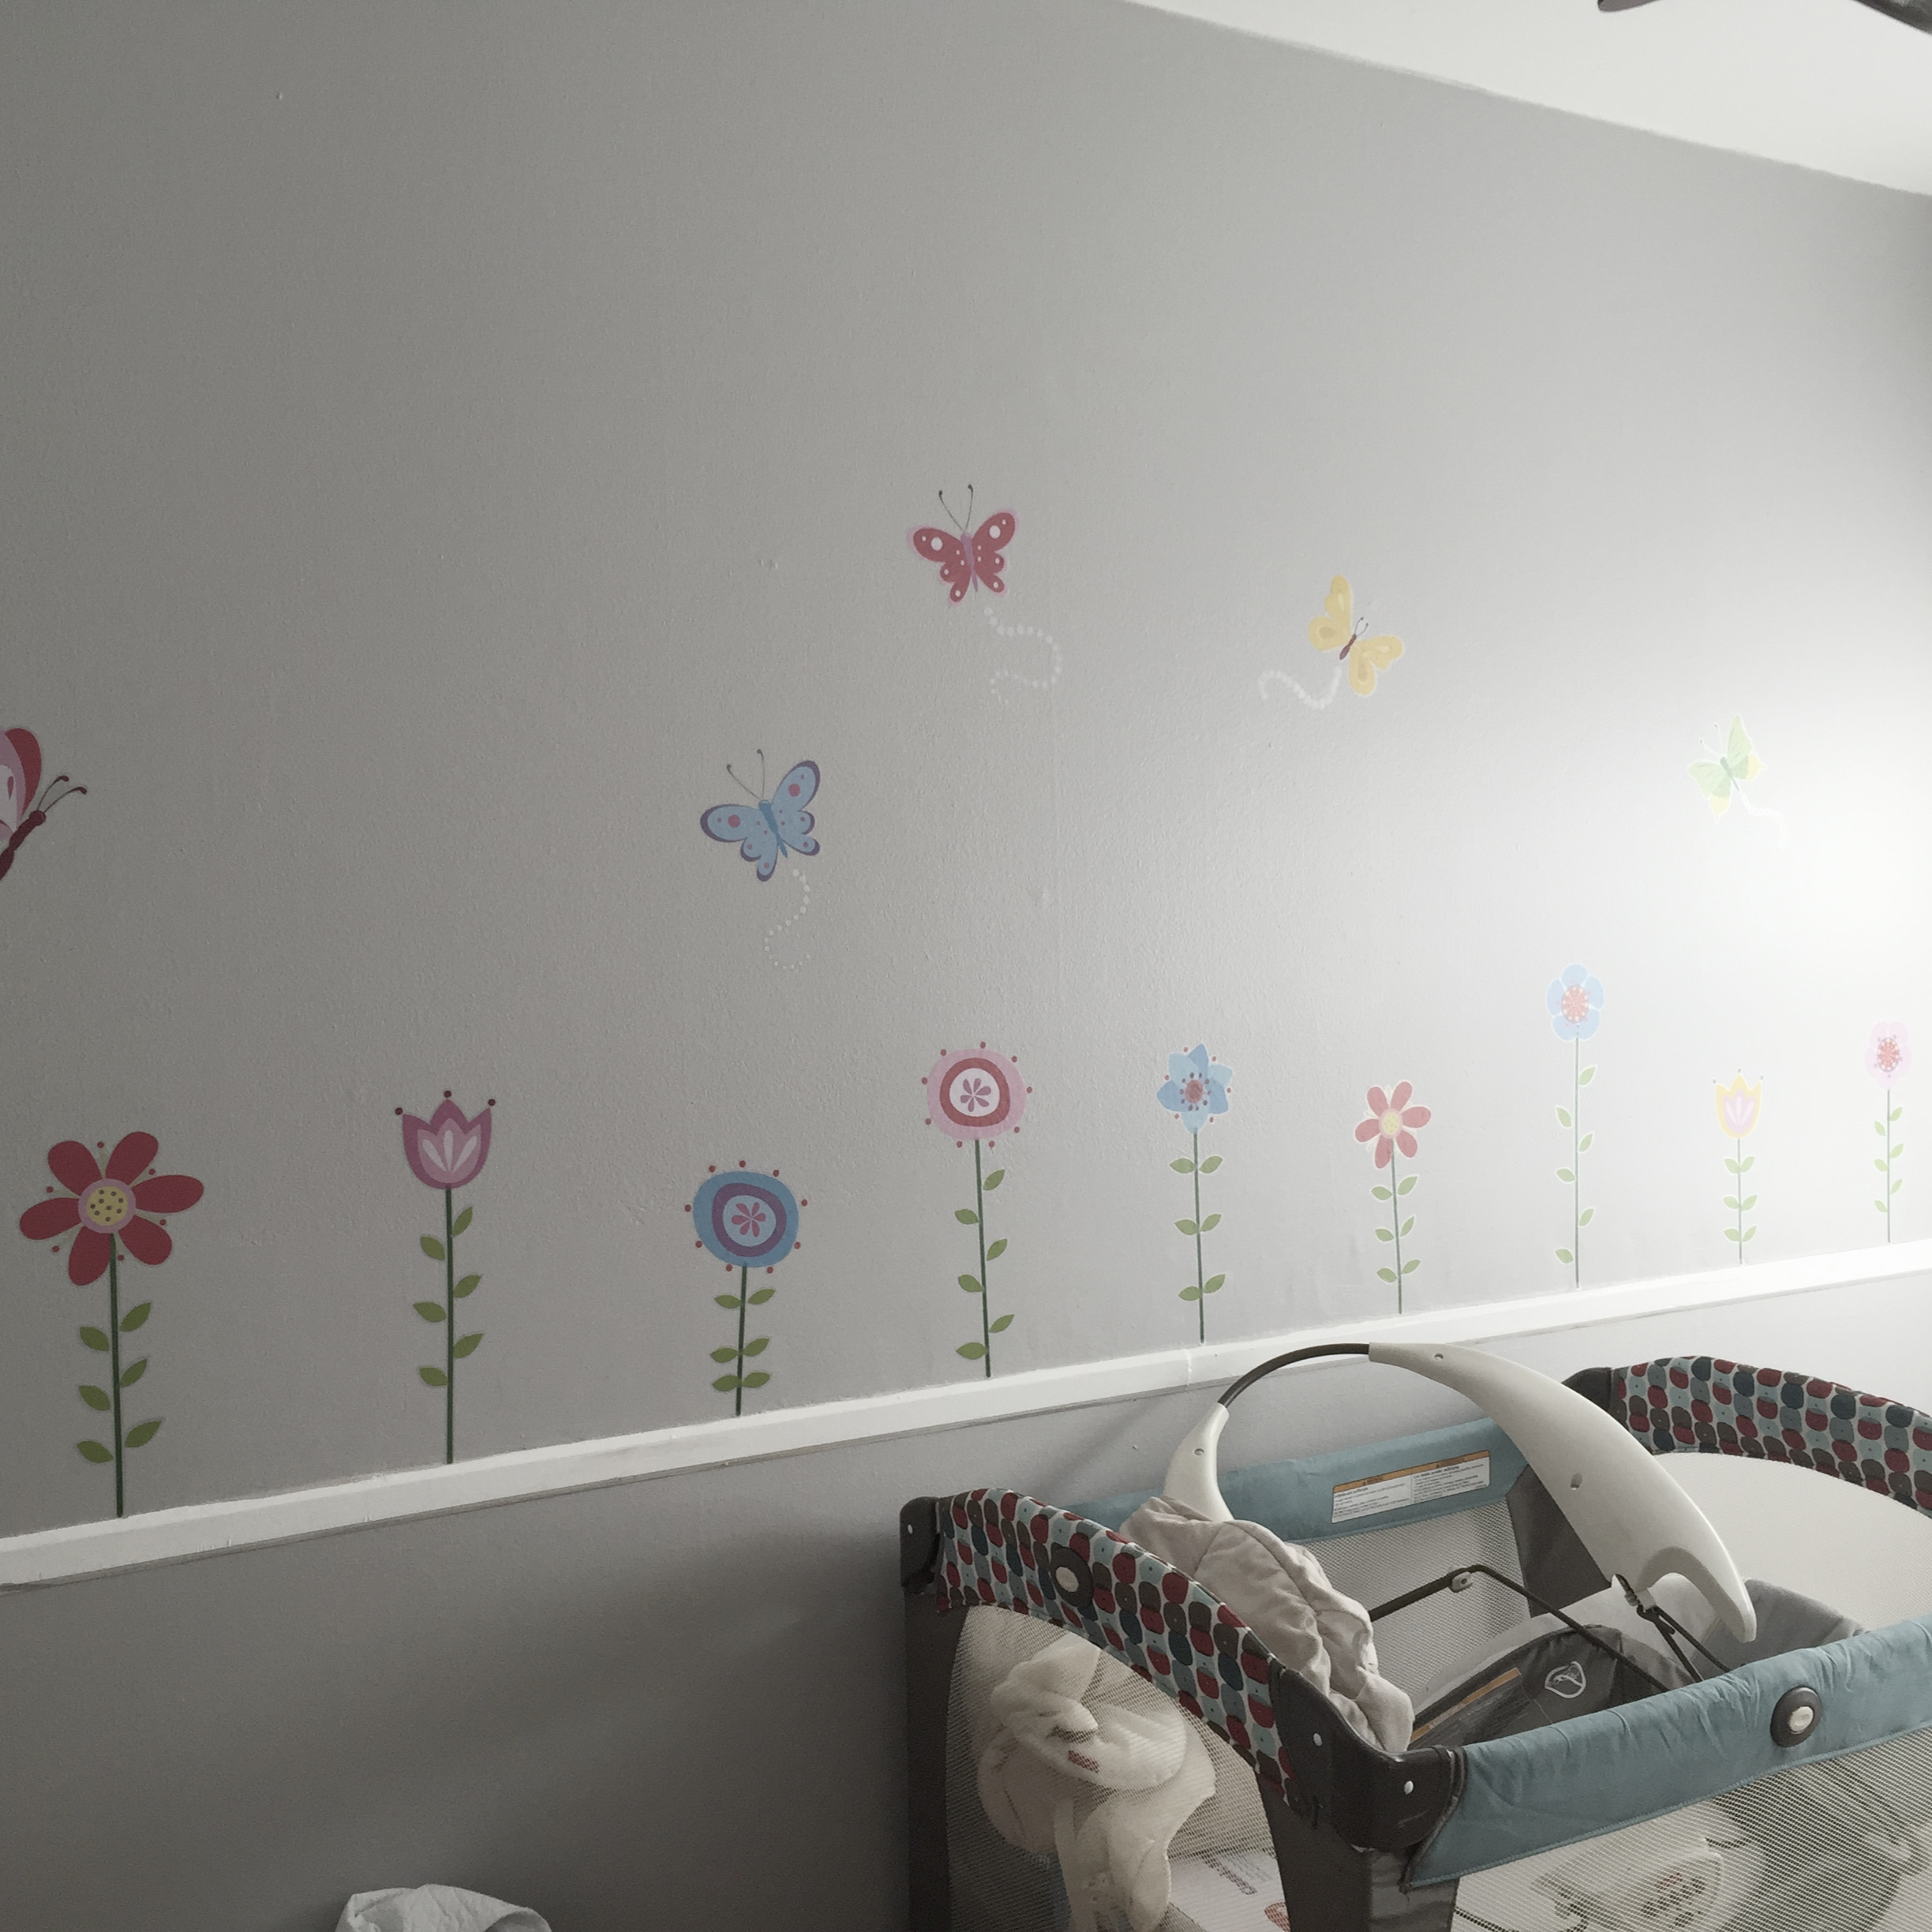
When I last decorated my daughter’s room, I was still pregnant with her, and we decided to decorate her room with butterflies and lavender accents. Her nursery was cozy and comfortable, with space for everything a baby needs. In her toddler years, the big update was to upgrade the crib to a DIY lower bed, so she could easily get on and off safely. Then, when the pandemic hit, we needed more space in the basement for the kids to play, so we repurposed the wood from the low bed and moved the daybed to her room. And that is the point where we started this transformation. Are you ready to see how I did it?


Step 1: Create a vision board.

As my daughter is growing older, she makes sure to express herself, what she likes, and dislikes. To make sure she loves her room, I asked her opinion on what she would like in it, and her answer was: rainbows, unicorns, pink, and a “princess” bed. With that information in hand, I created a vision board to stay focused on the elements she picked. I also made a list of to-dos to keep track of all the details. (You can download it below).

She loves to dance, style her hair, match outfits with kids’ jewelry, etc., so a room with a vanity and space to twirl around was also a must. I tried to incorporate most of the elements she asked for, but a “princess” bed didn’t make the cut since we need to maximize the space in our rowhouse, and our ceilings are not super high.
Before starting the project, we ordered all the material and styling items we will need, so we would have them before we started the project.
Step 2: Add Colors.

As with most of my home DIY projects, I start by picking a theme and an inspiring element. For this project, I basically just had a color to plan the room around. Even though my daughter would go for a bright pink color for the walls, I still wanted to make sure the colors and decor would meet the style of our house. So after searching the Behr website, I picked two colors for the walls and two additional colors to use as accent colors throughout the room. After that, I just made a quick trip to home depot to pick up some sample colors.
I tested the colors on the wall, fell in love with them, as I knew I would. With 2 gallons of paint, one “Retro Pink” and the other “Almond Milk,” I painted the whole room with some extra to spare. As you might have noticed, I have painted more walls in my house in the past year than my nails, so I am pretty sure the leftover paint won’t go to waste.
At first, I was thinking about painting some scallops border on the wall, but I ended up opting for a clean line to give a more modern vibe. It took me a day to paint the wall and another day to do trims, baseboard, and doors. For those, I just used a pure white high-gloss paint we always have around.
Step 3: Pay attention to details.

Once the paint dried, I spent a couple of days admiring the new colors. And, since we are doing a whole room transformation, we took the time to switch the old door hinges, doorknobs, and door stoppers. They were old, and the hinges were painted over. It was definitely time to change them. We installed quarter rounds to cover the gap between the floor and baseboards, which gives a much more finished look to the room.
After all the sanding, painting, installing were over, it was a good idea to do a deep cleaning of the room. I cleaned the ceiling fan, windows, closet shelves, and much more, so the room was clean to install the new furniture and style it.
Step 4: Space planning and furniture.

As you know, I am not an interior designer, but just a professional organizer that loves to style on a budget. I try my best to implement my vision for the spaces I style in my house. For example, I would love for my kids’ beds to not be against the walls and for them to have cute nightstands on each side. But the reality is we don’t have space for it. Taking the space we have into consideration allows us to determine the room’s flow and the furniture pieces you will bring into it.
With that in mind, I checked the IKEA website for new furniture. We love IKEA for their budget-friendly options, style, quality, and environmental efforts, plus we use their products all over our house. It’s important to note that now, more than ever, we need to make the most of our spaces and adapt to our current lifestyle. My daughter’s tiny room needs to have space for: sleep, store clothes, get dressed, study, read, dance, play, and relax. Using furniture that can have different purposes will ensure the success of this project.

The bed we picked has four large drawers underneath, which will allow us to eliminate the regular dresser. Without a dresser, we will have space to bring in a vanity that could also be used as a desk if she wants a change of scenery other than her virtual learning desk in the basement.
We paired the vanity with a comfortable, lightweight chair and a mirror. The drawer has enough space to keep all her hair accessories and jewelry organized and easily accessible.
Step 5: It’s time to style.

Once the big pieces of furniture were in place, it was time to do the final touches.
We have had this chair in our house for at least seven years now. It had stains from baby vitamins we spilled when the kids were little, but otherwise, it is still in great shape. So we just got an extra cover at Ikea, and now it looks like new!
We also brought some green to the room, other than just the plants, by adding new curtains and matching pillow covers.

The area rug sets the tone of the room and grounds the space. To keep our boho, modern, eclectic style (at least that is what I think our style is), I decided to use an ivory and burnt orange shaggy rug. It feels so good on our feet, it is great to play and dance on, plus it brings in the vibe we were hoping for.
From there, we added some wall decor. We already had most of the pieces, including the embroidery cloth made by grandmother. My daughter loves drawing and doing arts and crafts, so she asked me to frame some of her works. I am pretty sure this collection will grow with time, and that is exactly what we want. On the opposite side of the room, we added a couple of shelves to display her plants, favorite toys, and pictures.

As you can see, plants are also an essential step of our decor. Plants bring me so much happiness that I make sure my kids enjoy them and learn to take care of them as well. One plant that I have always wanted to add to our collection was the fiddle leaf fig. We planted it in this beautiful terracotta pot that matches the colors of the room.
Step 6: Organize
A beautiful room without organization systems that works and is easy to maintain is incomplete. So, let’s take a look inside the closet and drawers. It is very easy for kids to keep the drawers organized when their clothes are filled instead of piled. It makes things easy to see, and they stay in place when they get one piece out. Having drawer organizers also helps to limit the space, and the items don’t move around too much.

Adding a lower bar to the closet maximizes the vertical space and makes it easy for the little ones to choose and pick what they want to wear.
A basket on the floor collects the small number of toys they have in their bedrooms since most of the toys live in the playroom. That helps us keep the bedrooms tidy up every morning and keep them free of clutter.

These were the six steps I used to successfully style and organize my daughter’s room. I hope we inspired you to update a room in your home as well. Download the Tracker to keep you focused, and make sure to pin the pictures for easy reference later.
IKEA U.S. gave us all the IKEA products mentioned in this post. IKEA® is a registered trademark of Inter IKEA Systems B.V. The views, ideas, and opinions expressed here are my own.
Shop the Look


NEED MORE IDEAS?
Don’t forget to count on us if you need a private consultation. We can help you figure out what are the best steps to accomplish your home organizing goals. We also create a personalized shopping guide to organize that odd space or your dream garage. Send us an email or check out our Virtual Organizing Services and Hands-on Services in Baltimore!
Learn more about our Digital Book, Organize Yourself Healthy
Instagram / Facebook / Amazon Storefront / Pinterest / Linkedin
Pin it for later


Leave a Reply